- Nov 3, 2020
- 3 min
Using WildFly or JBoss EAP with Magnolia
Magnolia in action
Take 12 minutes and a coffee break to discover how Magnolia can elevate your digital experience.
Java is one of the most widely used programming languages for developing enterprise applications. In fact, according to Oracle, it is considered the #1 programming language for today’s tech trends.
There are a few popular Java application servers such as Apache Tomcat, WebSphere, JBoss and WildFly. By default, Magnolia uses Apache Tomcat.
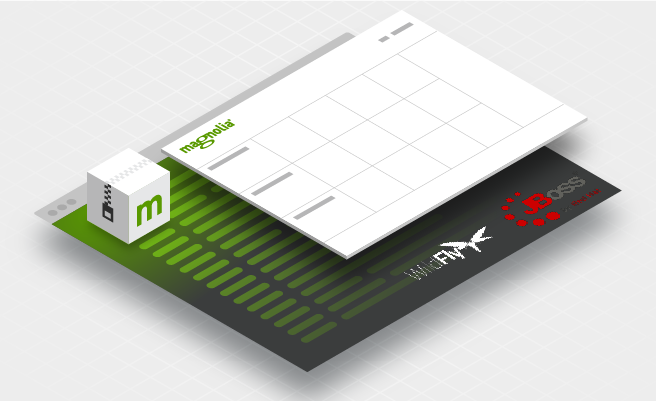
If you are already running JBoss or WildFly in your organisation, you might not want to introduce Apache Tomcat to run Magnolia. In this article I will therefore describe how to deploy Magnolia with WildFly in standalone mode. The below steps also apply to JBoss EAP.
What is JBoss and what is WildFly?
JBoss Enterprise Application Platform (EAP) is an open-source Java application server developed by Red Hat.
JBoss Inc. originally developed JBoss Application Server (AS), but after Red Hat acquired the company, JBoss became a subsidiary of Red Hat. Subsequently, the JBoss AS community project was renamed to WildFly while JBoss Enterprise Application Platform (EAP) is the name of Red Hat’s enterprise product.
Using JBoss with Magnolia
1) Choosing a certified configuration
To run Magnolia you need a compatible Java Runtime Environment (JRE) or a Java Development Kit (JDK) as well as a Java application server such as WildFly or JBoss EAP. While JRE is sufficient to run Magnolia, you should deploy JDK if you plan to write your own Java code.
Check Magnolia’s Certified Stack to identify which Java versions and application servers are certified with the Magnolia version you want to deploy. Then verify what Java versions your application server of choice supports.
Supported Java versions for WildFly can be found in WildFly’s release announcement. To check supported Java versions for JBoss EAP, go to the Red Hat Customer Portal.
2) Adding Magnolia to WildFly
Download and unzip Wildfly’s “Java EE Full & Web Distribution”. Go to the "standalone/deployments" folder and create a new folder called “<name_of_Magnolia_instance>.war”.
Download the Magnolia WAR file and explode it inside the new folder using the jar command. Delete or move the original WAR file from the directory.
Deploying your CMS to Azure Cloud
Our free blueprints guide you through deploying your CMS to Azure Cloud, using Magnolia CMS as an example.
3) Preventing library conflicts between Magnolia and WildFly
WildFly comes with several Java libraries, which can be found in the “modules” folder. Magnolia also comes with several Java libraries, which can be found in the “WEB-INF/lib” folder. Some Java libraries come both with WildFly and Magnolia.
To prevent library conflicts, it is important to exclude duplicate libraries. Go to standalone/deployments/<name_of_Magnolia_instance>.war/WEB-INF and create a file called “jboss-deployment-structure.xml” with the following content:
1<?xml version="1.0"?>
2<jboss-deployment-structure xmlns="urn:jboss:deployment-structure:1.2">
3    <deployment>
4        <exclude-subsystems>
5            <subsystem name="weld" />
6            <subsystem name="jaxrs" />
7            <subsystem name="webservices" />
8        </exclude-subsystems>
9        <exclusions>
10            <module name="org.apache.log4j" />
11            <module name="org.slf4j" />
12            <module name="org.bouncycastle" />
13        </exclusions>
14    </deployment>
15</jboss-deployment-structure>
Finally, add the following line to your magnolia.properties file in standalone/deployments/<name_of_Magnolia_instance>.war/WEB-INF/config/default: magnolia.definitions.classpath=info.magnolia
This parameter only knows one value and is required if you deploy on WebSphere, Liberty, WildFly or JBoss EAP.
4) Deploying Magnolia
When WildFly is started, it checks the “standalone/deployments” folder for WAR files to deploy. Because we exploded the WAR file, we need to tell WildFly to deploy the contents of the exploded folder.
Create a file called “<name_of_folder_with_exploded_WAR>.dodeploy” in standalone/deployments. For example, if you named the folder “magnoliaAuthor.war”, the name of the new file has to be “magnoliaAuthor.war.dodeploy”.
WildFly is now ready to deploy Magnolia and we can start the server. Go to “<JBoss_folder>/bin” and execute standalone.sh.
If your deployment was successful, the above file name extension will have changed to .deployed.
You should be able to connect to your Magnolia instance on localhost:8080/<name_of_Magnolia_instance> with Magnolia waiting to be installed.

If you want to learn more about JBoss and Magnolia, check our Understanding JBoss with Magnolia technical documentation.


